Recording Gain Staging Without Meter Panic
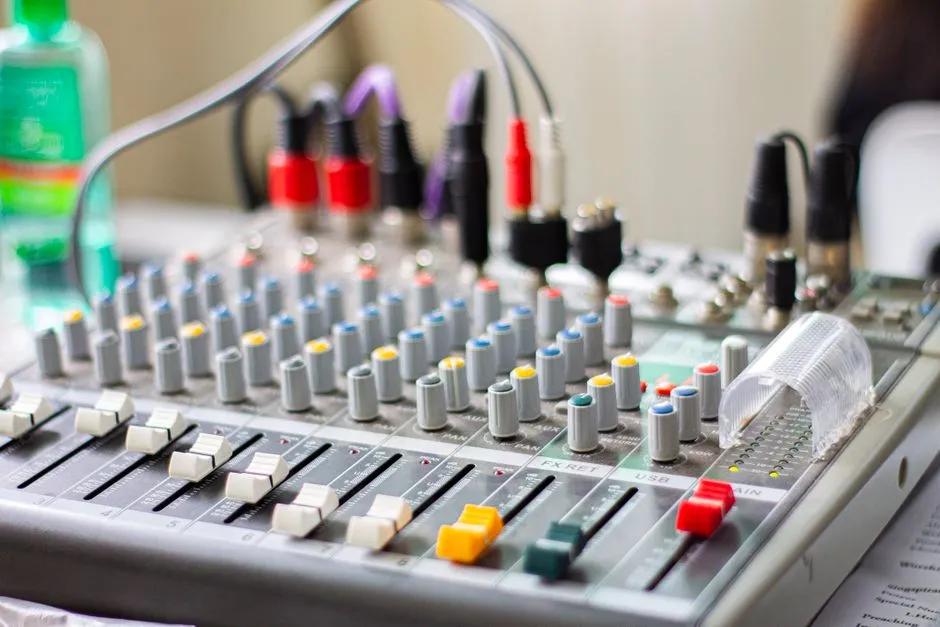
Set levels for the performance you will receive
Recording gain staging means setting each part of the input path so the performance arrives cleanly without clipping, excessive noise, or needless panic. Preserve the loudest believable moment with room to spare while keeping the monitor path independent.
Begin by tracing the audio interface path from source to track. Remove processors you do not yet need. A simple path makes problems easier to identify and decisions easier to repeat.
Rehearse the loud section first
Ask the performer to deliver the loudest phrase, hardest chord, or strongest drum hit expected in the take. Rehearse the strongest expected passage before setting gain.
Watch the interface and software meters while listening. Raise input gain until the signal is healthy, then leave clear margin above the observed peaks. Digital recording does not require peaks pressed against the ceiling. If the performance changes, stop and reset rather than hoping the loud note develops manners.
Separate source level, input gain, and monitoring
A keyboard's output, a preamp's input gain, a channel processor's output, and the interface input can all change the recorded level. Headphone volume changes what the performer hears, not necessarily what the file receives. Adjust one stage at a time and label any unusual routing.
If the recording clips while the headphones sound quiet, lower the input path and raise the monitoring path. If the file is clean but the performer hears distortion, inspect the headphone mix, effects, and output level separately.
Improve the source before chasing the meter
Microphone distance, singing direction, pickup selection, instrument output, and playing technique change both tone and level. Correct obvious physical problems before reaching for processing. Our vocal mic placement guide shows how position can tame plosives and room sound before a plugin receives anything.
Listen for breath blasts, handling noise, and room noise, then correct microphone position or the room before adding gain. Treat unexplained hum, crackle, heat, odor, or intermittent power as a possible equipment fault. Stop using the affected path, disconnect it according to its manual, inspect cables and connections, and use qualified service when the cause is unclear.
Use processing only with a reason
Recording through compression or other hardware can control a signal creatively, but the decision may be difficult to undo. Beginners are often safer capturing a clean signal with margin, then exploring processing during the mix.
If you record through a processor, avoid judging its result merely because one path plays louder. Confirm that the output of one device is not overloading the next, and document the routing. Follow every device manual before changing connections, power, or operating level.
Noise-induced hearing loss is permanent. NIOSH says exposure risk depends on level and duration, describes 85 dB(A) over eight hours as an occupational limit, and cautions that this is not a recreational-listening guarantee. Reduce level and exposure time while recording and comparing; see NIOSH guidance.
Check every new source
Changing microphone, performer, instrument, patch, pickup, or playing style changes the level. Recheck before each new setup. Save interface and session notes, but treat them as starting points rather than sacred coordinates.
Record a short test and play it back from the actual file. Meter movement alone cannot reveal every click, buzz, or brittle peak. Use EQ during mixing for tonal decisions after you have captured a clean, intentional performance.
Leave the mix room to breathe
Conservative recording levels make multitrack sessions easier to balance because many tracks can combine without immediately overloading buses. Pulling every fader down later is possible, but avoiding the pileup is calmer.
Good gain staging is almost invisible. The take sounds like the source, peaks remain intact, the recording path stays within its intended operating range, and the monitor route remains independent from input gain. That reliability is exactly the point.
Music-production guidance here is general education. Protect your hearing, use electrical equipment as directed, keep backups, and obtain appropriate rights or permission for material you record, sample, distribute, or release.