Audio Interface Basics for Home Recording
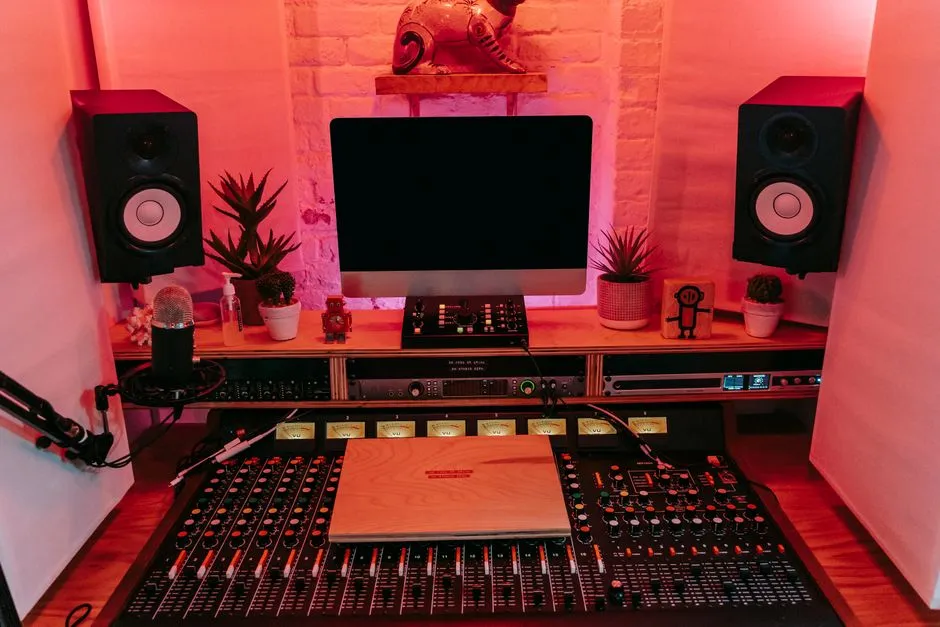
Understand the interface's actual job
An audio interface converts microphone and instrument signals into digital audio your recording software can store, then converts playback back into sound for headphones or speakers. It also provides physical inputs, outputs, gain controls, and monitoring options.
For a simple home recording setup, choose an interface around the number of sources you genuinely need to record at once. A solo vocal and guitar workflow has different input needs from a live drum session.
Match the source to the input
Microphones normally connect to microphone inputs. Electric guitars and basses may use an instrument input when recorded directly. Keyboards and external processors may provide line-level signals. Select the intended input mode rather than assuming every socket treats every source identically.
Phantom power is commonly labeled 48V, but controls and microphone requirements vary. Read both manuals before connecting equipment or changing phantom-power state. Shure's MVi manual says condenser microphones require phantom power on that interface and warns that activating it with a ribbon microphone may cause damage. Follow the instructions for the exact devices in use; see the Shure MVi guide.
Set input gain separately from listening level
Input gain controls how strongly the incoming source reaches the converter. The headphone or monitor control changes playback level. Confusing them can produce an overloaded recording even when the headphones seem quiet, or unexpectedly high headphone output from a clean recording. Set recording gain before adjusting headphone level, and reduce the output before testing an unfamiliar route.
Play the loudest likely section and adjust input gain so peaks remain clean with unused meter range. The gain-staging guide provides a complete routine. Set the listening control under the NIOSH exposure guidance below.
Choose direct or software monitoring
Direct monitoring routes the incoming signal to the outputs inside the interface, which can feel immediate. Software monitoring sends it through the recording program, allowing effects and track processing but adding delay that depends on the system and settings.
Use the path that supports the performance. A singer may prefer a little software reverb, while a guitarist may value the fastest response. Check that both paths are not active unintentionally; their slight timing difference can make a voice sound doubled or hollow.
Learn the output section
Connect headphones and speakers only to outputs identified for them in the interface manual. Reduce the output before connecting headphones or changing routes, then identify which control affects each output. If the interface has separate mixes, label them in software and save a basic monitoring preset.
Mute speaker feeds before opening a nearby microphone or changing its route. Feedback can create hazardous sound levels. NIOSH states that noise-induced hearing loss is permanent and describes 85 dB(A) over eight hours as an occupational limit, with allowable time halved for each 3 dB increase; it cautions that this is not a recreational-listening guarantee. Reduce level and exposure time, and use appropriate hearing protection at 85 dB(A) or above. See NIOSH guidance.
Confirm the software settings
In the recording program, select the interface as both input and output device. Assign the desired hardware input to the track, create a new audio file, and record a brief test. Confirm that the waveform, playback side, and saved location are correct.
If a vocal microphone setup seems silent, inspect the physical connection, input type, track assignment, arming, and monitoring path in order.
Buy for workflow, not decoration
Choose by simultaneous input count, output needs, connection compatibility, driver support, physical controls, and monitoring features.
Once you understand the signal path, the interface should become predictable. It receives a clean source, sends it to the right track, and returns the intended monitor mix through the correct output. Keep the manual available whenever routing, power, or connected equipment changes.
Music-production guidance here is general education. Protect your hearing, use electrical equipment as directed, keep backups, and obtain appropriate rights or permission for material you record, sample, distribute, or release.