Home Recording Setup: Start With a Clear Signal
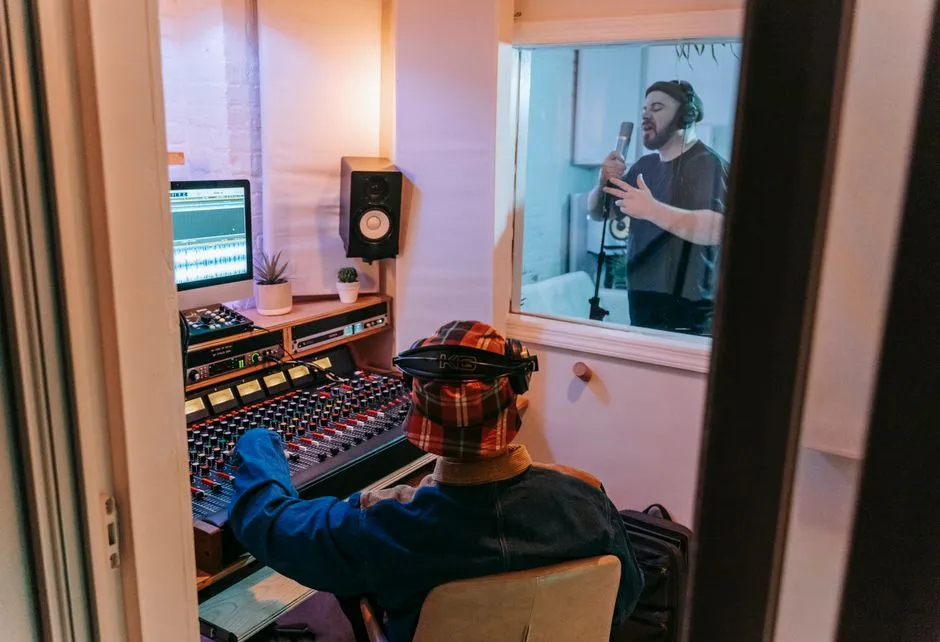
Build the shortest useful signal path
A home recording setup needs a way to capture a performance, hear it honestly, and save it safely. For many musicians, that means a computer, recording software, an audio interface, headphones or speakers, and a microphone or instrument cable. Add only what solves a problem you can already name. A rack full of blinking lights is attractive, but so is a small setup that is ready before the chorus escapes.
Map the path before buying anything: performer to microphone or instrument, cable to interface, interface to software, and software back to headphones or speakers. Our guide to audio interface basics explains the middle of that trip.
Choose the room before the gear
Listen in several possible locations. Clap, speak, and play at normal performance volume. Avoid a spot where traffic, appliances, computer fans, or hard parallel surfaces dominate every take. Choose the quietest workable room before judging equipment.
Keep cables out of doors and walkways because a fall can pull powered equipment or stands onto people. Secure loose runs with products suitable for the floor, without creating raised edges. Keep drinks on a separate surface away from electronics and power connections. Follow every device's power and ventilation instructions. If the room sounds splashy or boxy, make deliberate changes using the room-treatment guide.
Start with one reliable input
Connect one source and confirm that it reaches one track. Name the input, arm the track, and listen through the intended output. Speak or play softly and loudly while setting the input gain. Leave room for unexpected peaks; a clean, conservative recording can be raised later, while clipped audio arrives with its damage already baked in.
Follow recording gain-staging principles and monitor for hum, crackle, delay, or one-sided playback. Stop using equipment that produces unexplained hum, crackle, heat, odor, or intermittent power. Disconnect it as its manual directs and inspect the cable and connections; use qualified service when the cause is not clear.
Make monitoring comfortable
Loud monitoring can cause permanent hearing loss. NIOSH describes 85 dB(A) over eight hours as an occupational limit, halves allowable time for every 3 dB increase, and warns that this limit is not a recreational-listening guarantee. Reduce sound level and exposure time, and use appropriate hearing protection at 85 dB(A) or above. See NIOSH guidance. Keep speakers stable and arranged symmetrically when the room allows.
Use closed headphones when microphone bleed matters. Use speakers when you need a shared impression of the room, but mute them while recording through an open microphone to prevent feedback. Begin quietly whenever changing routing.
Create a session template
Save a blank project with the correct input, output, file location, and a few clearly named tracks. Include a notes track or document for tempo ideas, tuning, microphone position, and take comments. The template should remove chores without deciding the music in advance.
Record a short test, stop, save, close the project, and reopen it. Confirm that the audio remains attached and plays from the expected place. This dull little rehearsal is heroic when compared with discovering a missing file after the best performance.
Upgrade when the bottleneck is obvious
After several sessions, list what repeatedly slows you down. Perhaps you need another simultaneous input, quieter monitoring, a sturdier stand, or better control of reflections. Buy for that repeatable need, not for a fantasy studio tour.
The best beginner setup is one you understand completely. If you can trace the signal, capture clean takes, manage noise exposure, and back up the session, you have a functioning studio. Add equipment only after a repeatable limitation identifies what the next purchase must solve.
Music-production guidance here is general education. Protect your hearing, use electrical equipment as directed, keep backups, and obtain appropriate rights or permission for material you record, sample, distribute, or release.